Creating Ruby GEMs
Every beginner Ruby developer learns the command gem install early in their career, but it doesn’t take long for most to wonder what’s going on under the hood. As I’ve started to deepen my understanding of Ruby as a programming language, I’ve also become more enamored by Ruby Gems. Following this interest, I jumped into my local Gem environment and tried to make my own.
What Are Ruby Gems?

For those unfamiliar with Ruby, I can start by defining Gems. A Ruby Gem is simply a package manager that provides three main purposes:
- A standard format for distributing Ruby libraries, programs and scripts.
- A tool that helps manage library installation.
- A server for distributing these libraries.
So, simply put, Ruby Gems are plugin software packages that contain Ruby applications and/or libraries. Gems are a fundamental part of Ruby programming because they extend and manipulate the feature set and full functionality of Ruby applications. Most commonly, Gems are used to implement re-usable features and prevent developers from having to reinvent the wheel.
This is really how it works with all code libraries. In the past, when you built an incredible script or application that completed some task you might save it for your own purposes to use in all your applications. Over time, thousands of programmers have done this, sharing their work with the world – in this case via Gems using the RubyGems software package manager – so that instead of having to go solve every nuanced programming problem they come across, they can plug into the work of others and focus more attention on building the application at hand.
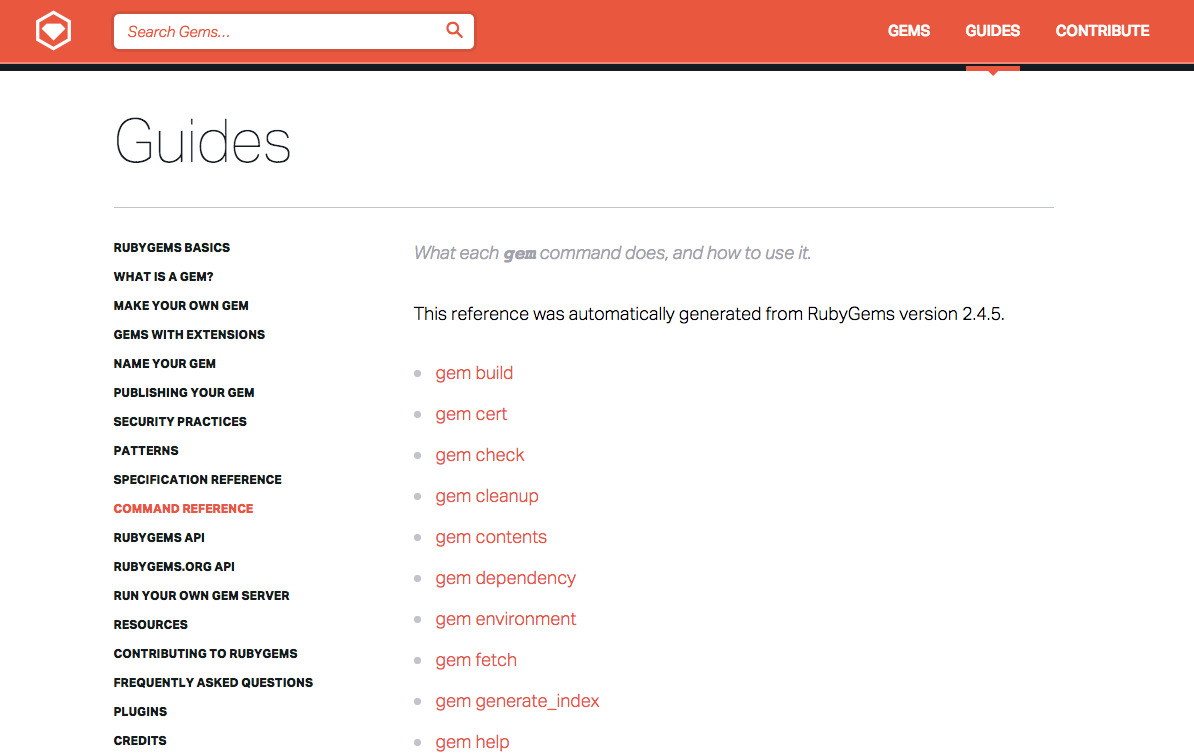
How do Gems Work?
At a high level the command gem is what allows you to work with Ruby Gems from your command line. If it’s your first time getting started with Ruby (version > 1.9) you will have the RubyGems commands built in, but if not, you can always download and run the installer from RubyGems.org.
RubyGems.org provides the best resources avaiable for using and working with Ruby Gems – this shouldn’t be surprising!
What are some of the cool commands you can run from terminal when working with GEMs?
gem install [ Gem library Name ]gem search [ Gem library Name ]irb -rpp: Requires a library when irb loads!gem listgem uninstall [ Gem library name ]ri [ Gem library name ]: View the documentation of the requested Gem.gem server: Lets you view the documentation for your installed Gems using a local host.gem fetch [ Gem library name ]: Let’s you audit a Gem’s contents without downloading itgem unpack [ Gem library name ]: After fetching, you can extract the contents from the.gemfile.
This list serves as a launchpad. There are loads of other awesome Gem commands.
Now that you have an understanding of ruby Gems and how to work with them, it’s time to turn our attention to the main argument – how to build Ruby Gems.
Building Your Own Gem
The process is actually quite simple. First I recommend checking out these two resources:
Installing is easiest using bundle as explained in the Step by Step guide. It works like this…
$ gem install bundle
$ bundle gem [ Your Gem name ]
You don’t necessarily have to run bundle in order to create a Gem. You could also use built in Gem commands. First, navigate to where you want to build your Gem in CL. Create a .gemspec file using the required syntax and nomenclature. Confused? Here’s an example. And if that’s not enough, here’s one of my .gemspec files so that you understand what it might look like.
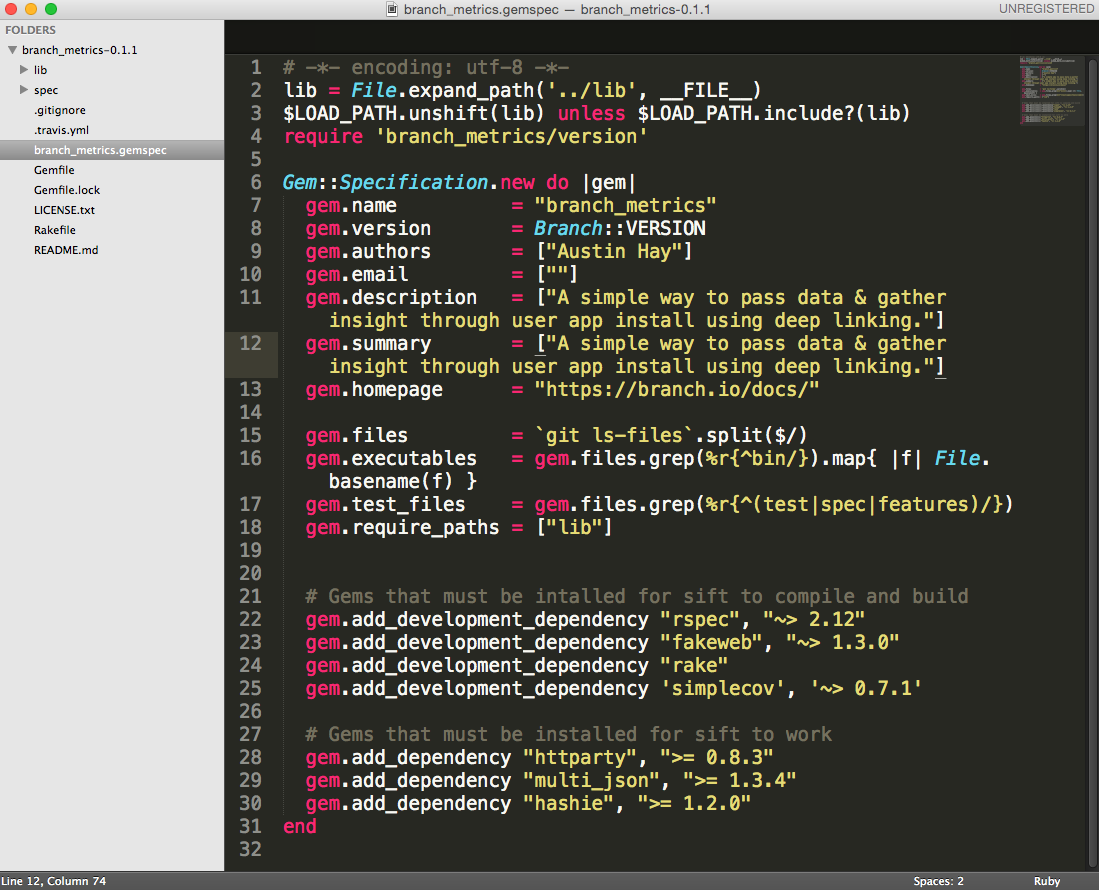
Now that you’ve made your .gemspec file you can run gem build [ Your gem name].gemspec
The Gem will automatically get built for you with all the correct directories, subdirectories and required files.
Similarly, you could just start from scratch by navigating to the directory where you want to build your Gem and creating the following files / sub-directories.
Subdirectories:
lib
spec
Files:
.gitignore
.travis.yml
[ GEM NAME ].gemspec
Gemfile
LICENSE.txt
Rakefile
README.md
GEMLOCK
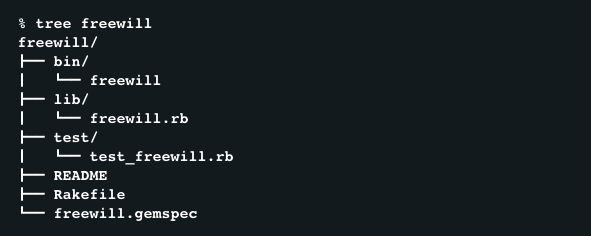
Gem Visualization
The above list serves as the architecture for your Gem, but you still might be wondering what the tree structure of a Gem looks like. If you ran the previous bundle commands (or built it yourself) and named your Gem “freewill”, per this example, this is what you would have created automatically.
Building with Test Driven Development
From this point you will want to build your Gem using Test-Driven Development (TDD). Most people use RSpec to do so. In TTD you’ll want to first add rspec to your Gem:
Gem:Specification.new do |spec|
   spec.add_development_dependency 'rspec'
end
Now you can create a spec sub-directory within your Gem home directory. And add spec helper and Gem test files. Here’s an example:
$ mkdir spec
$ cd spec
$ touch [ Gem Name ]_spec.rb
$ touch spec_helper.rb
Using TTD and Rspec is outside of the scope of this article, but you you can add all your tests into these newly created ruby files. Learn more about that here.
Deploying Your Gem
After many hours of building your awesome Gem you’ll probably get to the point where you’re interested in publishing. The process is also very simple.
The best and easiest way to spread the gospel of your Gem to other Ruby developers (and easily use it in all your projects with a simple gem install command…) is to publish to RubyGems.org
Signup on their website and then push your Gem:
$ gem push [ Your Gem ].gem
You will be prompted for login information, but RubyGems will save your credentials to ~/.gem/credentials from the command line so that you won’t have to do it everytime you push.
Wrap Up
In short, Ruby Gems are a fundamental aspect of coding in Ruby. It doesn’t take much time to start implementing them in your .rb files with the require tag, but creating your own Gem is a bit complicated. Hopefully this short intro gives you a first look and provides the resources needed to dive further.
If you have more time, I highly recommend learning to build Ruby Gems by exploring those Gems that have already been created. You can do this by navigating to the directory where your Gems are stored. Use the following in CL:
$ gem environment
Using your favorite text editor, open up some existing Gems – or Gems that you use frequently – and see how they are built. Compare the architecture you see there to the one I’ve described. Go one step further and see how their tests are established and how their primary .rb file works. You will learn an extraordinary amount by immersing yourself in existing Gems! Happy coding!